Making Your Power BI Teams More Analytic with Microsoft Fabric - Branch Policies
In the last article, I covered the real-time architecture that supports seeing test results in near real-time. So you may be asking, why is knowing that information in real-time important? Well, let’s say you are asked to review and approve semantic model and/or report changes—wouldn’t you want to get a heads up on the latest issues?
We like when the technologies we work with are forthcoming. If they know something that could negatively impact your team’s work, we want to know immediately.
With our Power BI development saved as PBIP and in Git, we can take advantage of a key feature that helps facilitate the review and approval process: the Pull Request. The idea of a Pull Request can be exemplified by a common scenario: let’s say your teammate has made some changes on a development branch (which could also be associated with a development workspace in Fabric) and they now want to apply those changes to the test branch so we can share those changes with stakeholders. As the tech lead, you don’t want changes being applied to uat (user acceptance testing) without a review by you. Therefore, the teammate issues a Pull Request proposing that the development (dev for short) branch changes be made to uat. In order to perform a Pull Request, we need to set up a target branch. In this case we want to create a Pull Request to merge changes from dev to uat.
Let’s walk you through the process of setting this up.
Setup Target Branch
1) Go to the Azure DevOps repository called “PBI-Test” you created in Part 2 in the prior article series.
2) Click create branch, and enter test and make sure it’s based on main.
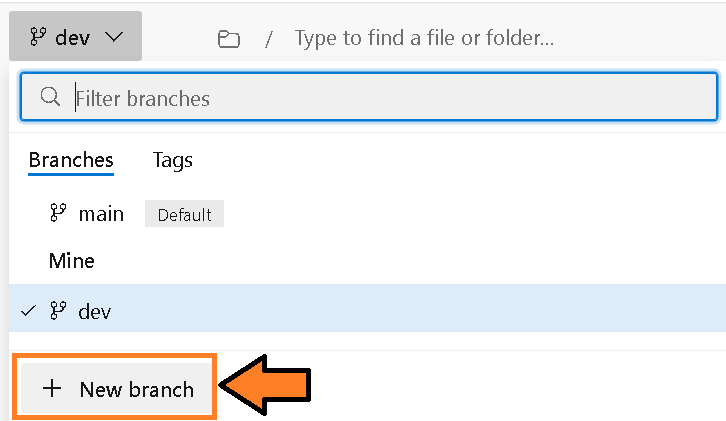 Figure 1: New Branch Option
3) A pop-up will appear. Name the branch uat (e.g., User Acceptance Testing) and make sure it is based on dev. Then click create.
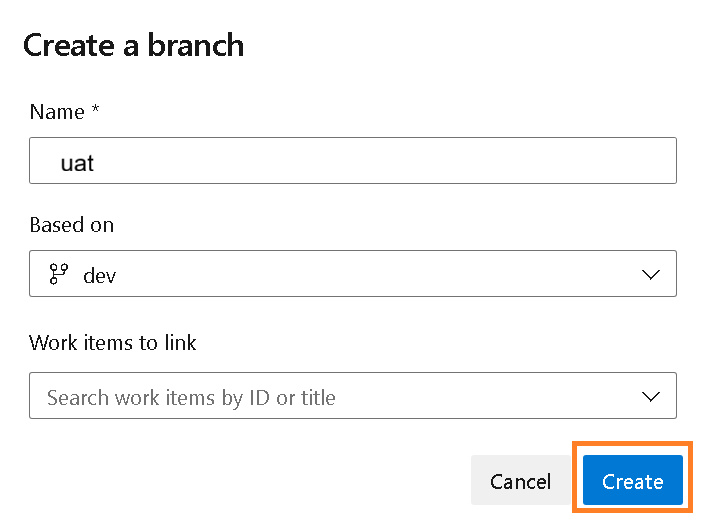 Figure 2: Create New Branch
Branch Policies
So before a Pull Request is initiated we need to set up another feature called a branch policy to automatically run an Azure Pipeline. That pipeline can then query the real-time eventhouse for any existing issues related to the development branch and post the results in the Pull Request. As a result, if critical issues (level 3) are found, the Pull Request can’t be completed until the issues are resolved. You as the reviewer see what needs to be fixed and the person who submitted the review also knows. Moreover, the submitter (your teammate) can make updates to the dev branch and every time that change is made the Pull Request will be updated with the latest results.
Let’s walk through setting up the pipeline:
Pipeline Setup
1. Set up Pipeline
Now we can set up the pipeline to run Tabular Editor 2’s Best Practice Analyzer in Azure DevOps when artifacts are published.
- Navigate to the Pipelines screen.
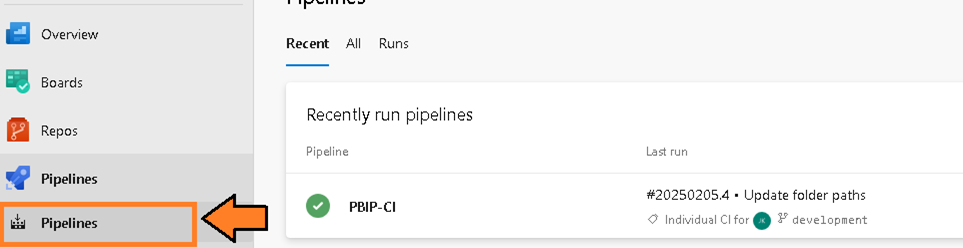 Figure 3 – Navigate to the Pipelines screen
 - Then select the “New Pipeline” button.
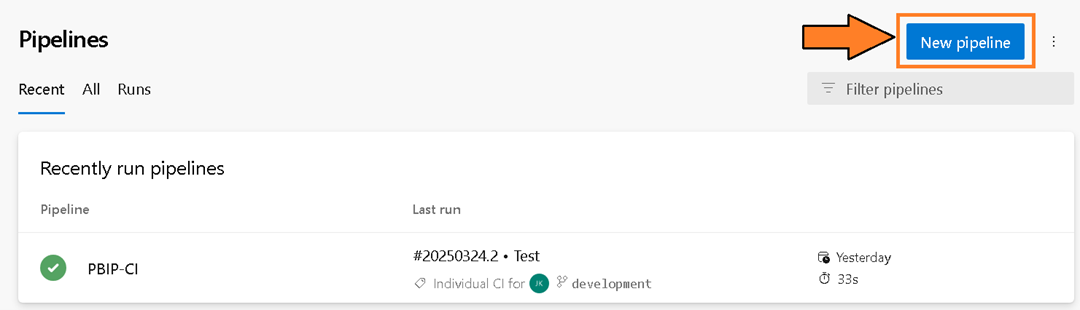 Figure 4 – Select the “New pipeline” button
 - You will be presented with the question “Where is your code?”. Select the Azure Repos Git option.
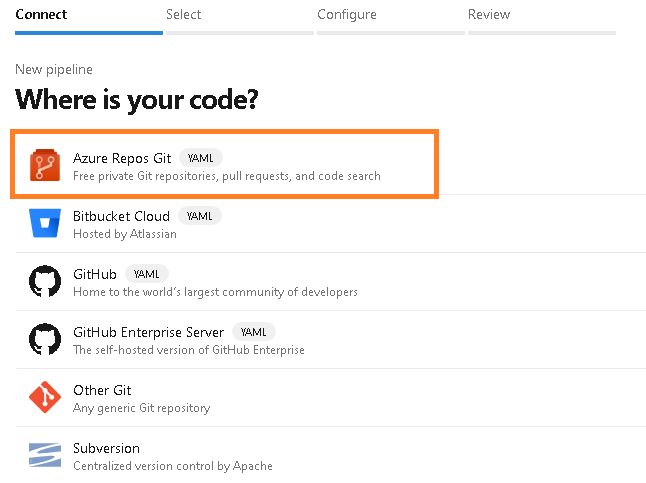 Figure 5 – Select the Azure Repos Git option
 - You will be prompted to select a repository. Select the repository name “pbi-teams-more-analytic-support”.
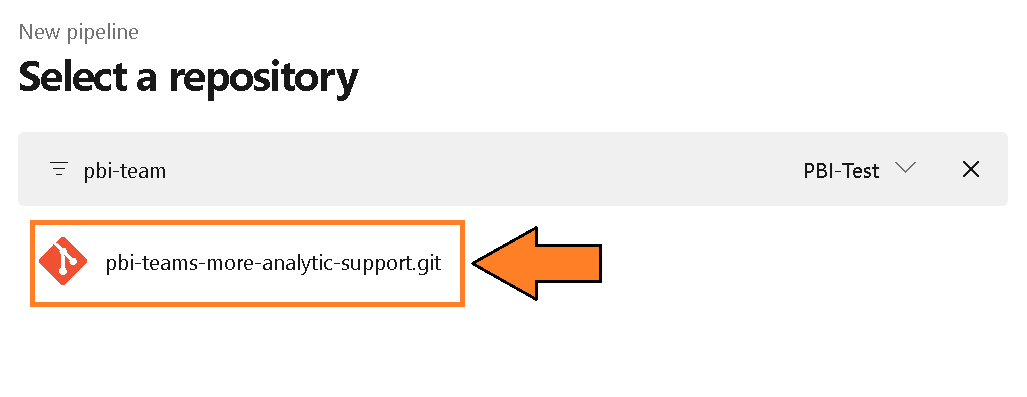 Figure 6 – Select a repository
 - You will be prompted to configure your pipeline. Choose the “Existing Azure Pipelines YAML file” option.
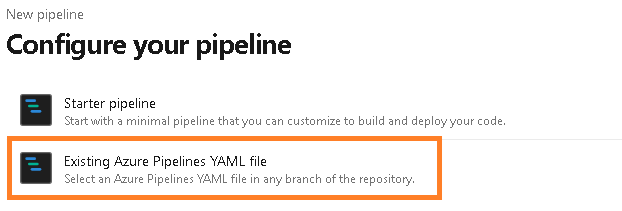 Figure 7 – Configure your pipeline
 - From the “Select an existing YAML file” select the Branch “eventhouse” and the Path named “check-eventhouse-for-errors.yml”. Press Continue.
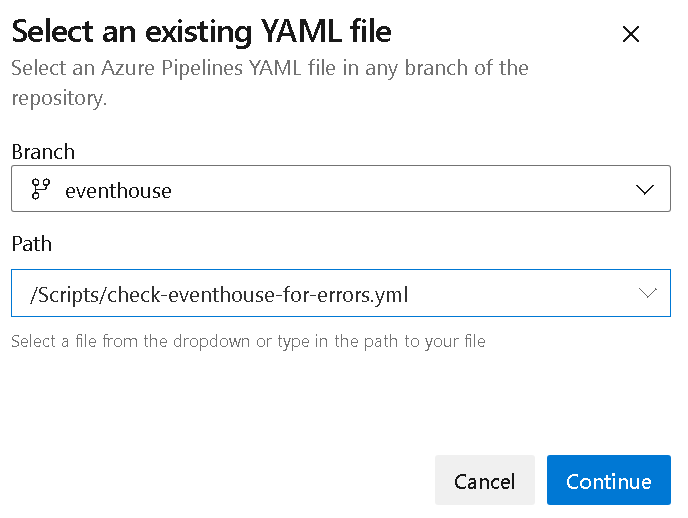 Figure 8 – Select existing YAML file
 Then select the “Run” button and this will kick off the pipeline.
 Figure 9 – Select “Run” Button
- You will be redirected to the pipeline screen and prompted to verify permissions. This is because the variable group is a resource that requires explicit access for the pipeline. This security measure (a good one) prevents inadvertent access to variables in the group. Click View to proceed.
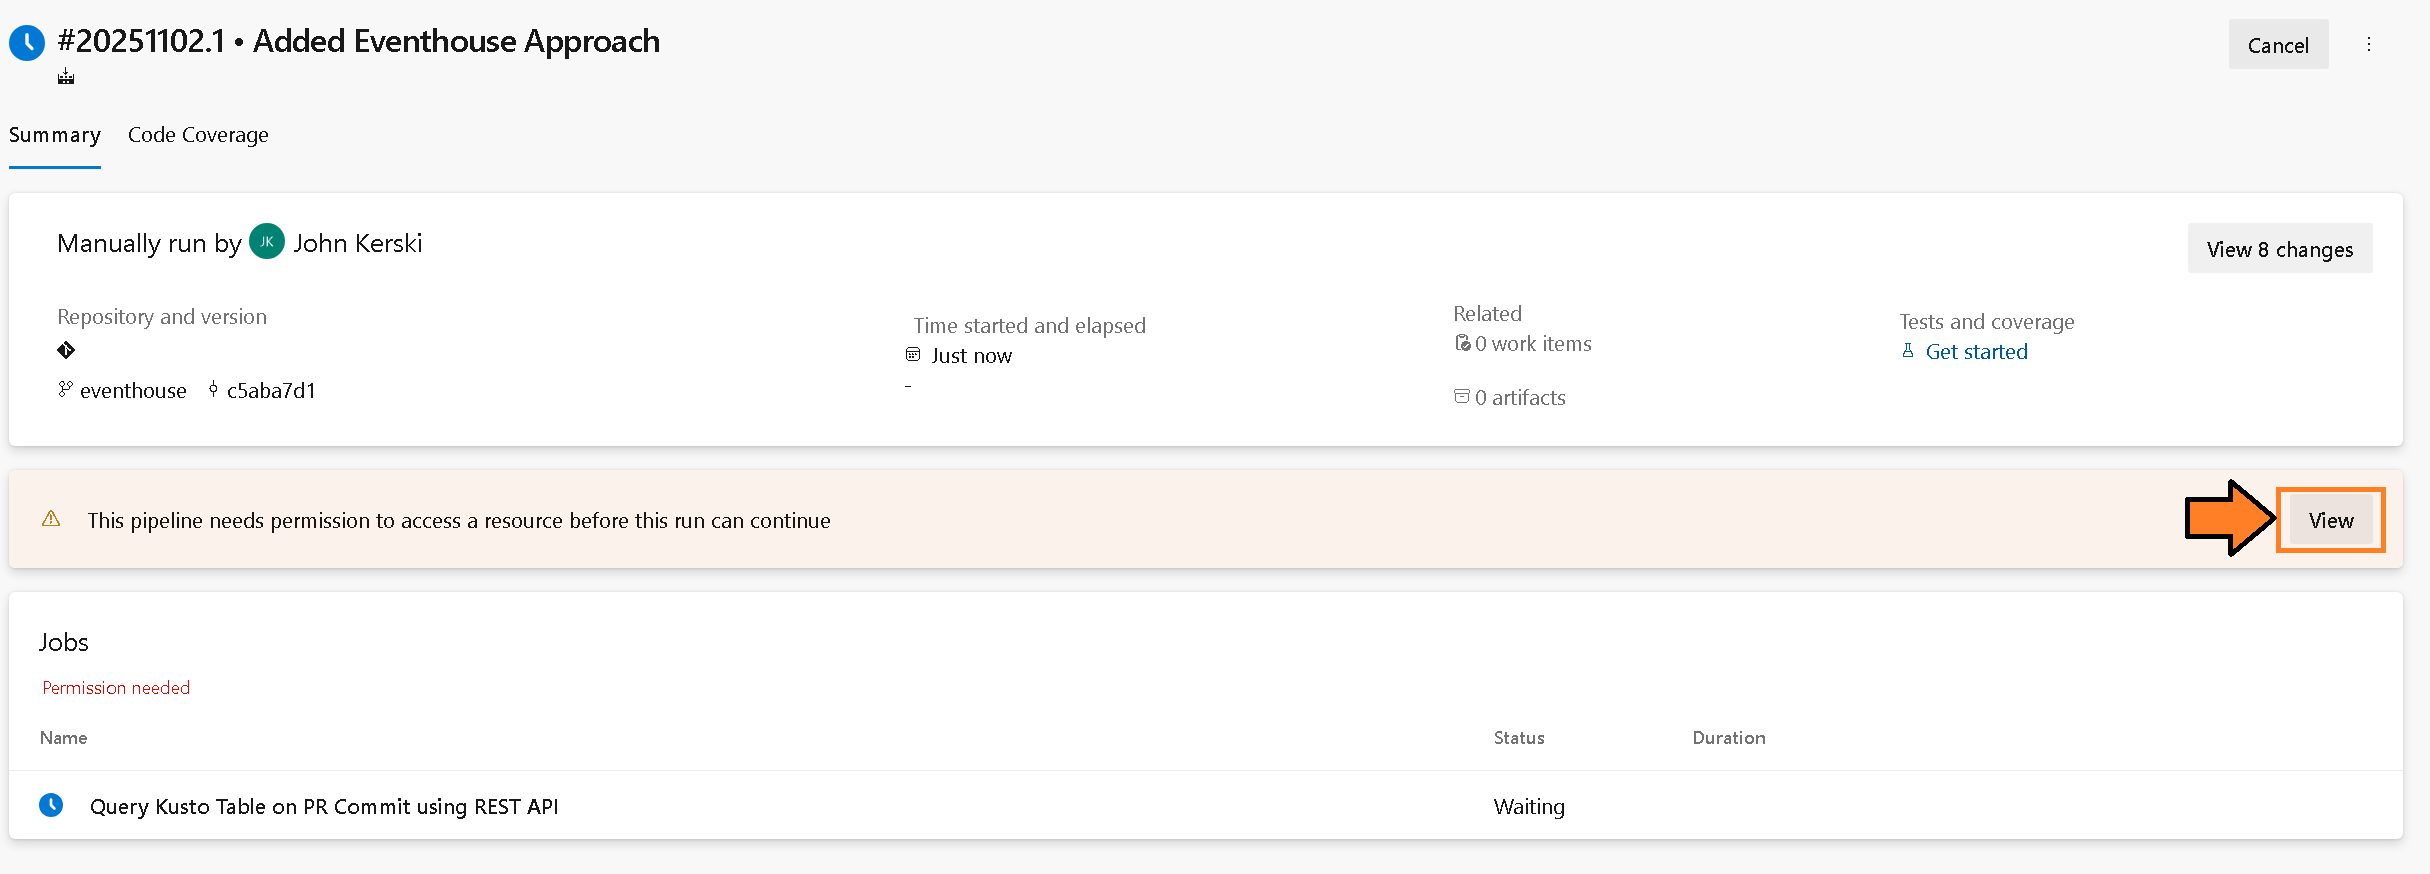 Figure 10 – Select the “View” button
 - You will be asked to permit the pipeline to access the variable group you created in the prior steps. Select the “Permit” button.
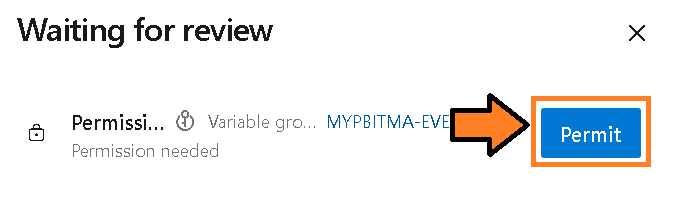 Figure 11 – Select the “Permit” button
 - You may be prompted again to permit. Select the “Permit” button.
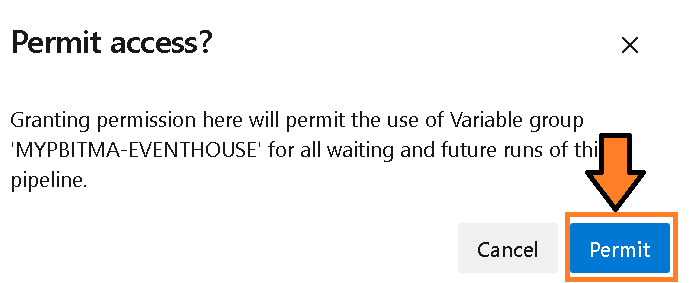 Figure 12 – Select the “Permit” button again
 - You will want to rename the pipeline to “Check-Eventhouse-For-Errors” to better keep track of the pipeline in the subsequent steps.
2. Create Policy
Let’s walk through setting up a branch policy:
1) Navigate to the project settings.
 Figure 13 – Navigate to Project Settings
2) Then navigate to the Repositories settings.
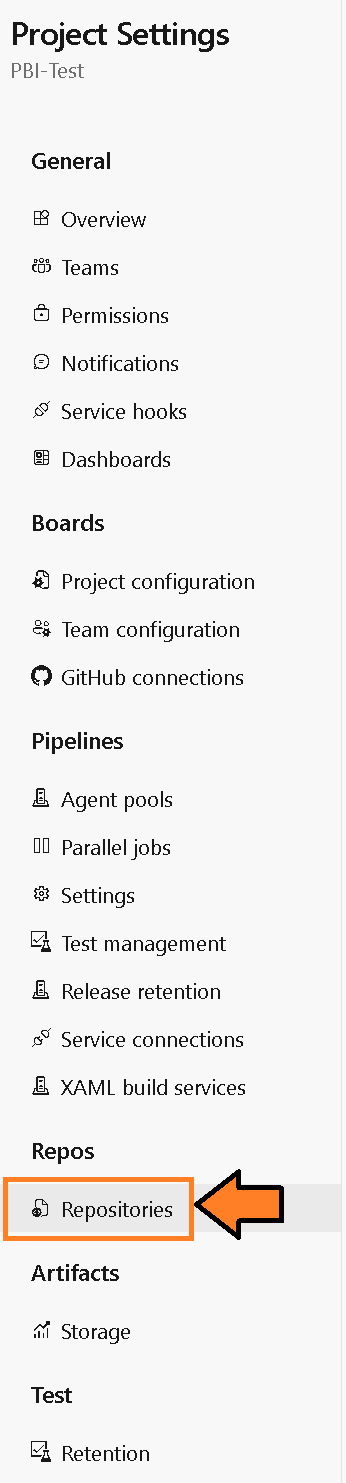 Figure 14 – Select Repository Settings
3) Select the repository identified as “PBI-Test”
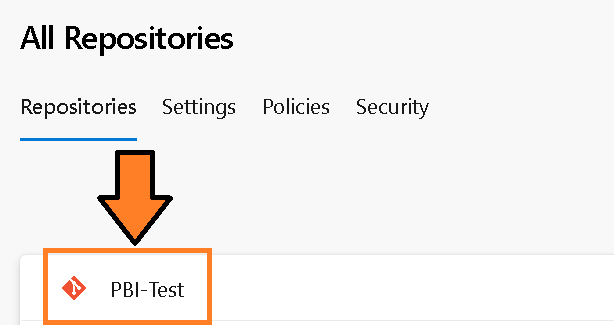 Figure 15 – Select Repository called “PBI-Test”
4) Select Policies option.
 Figure 16 – Select Policies Option
5) Near the bottom of the screen, select the branch “uat” in the “Branch Policies” section.
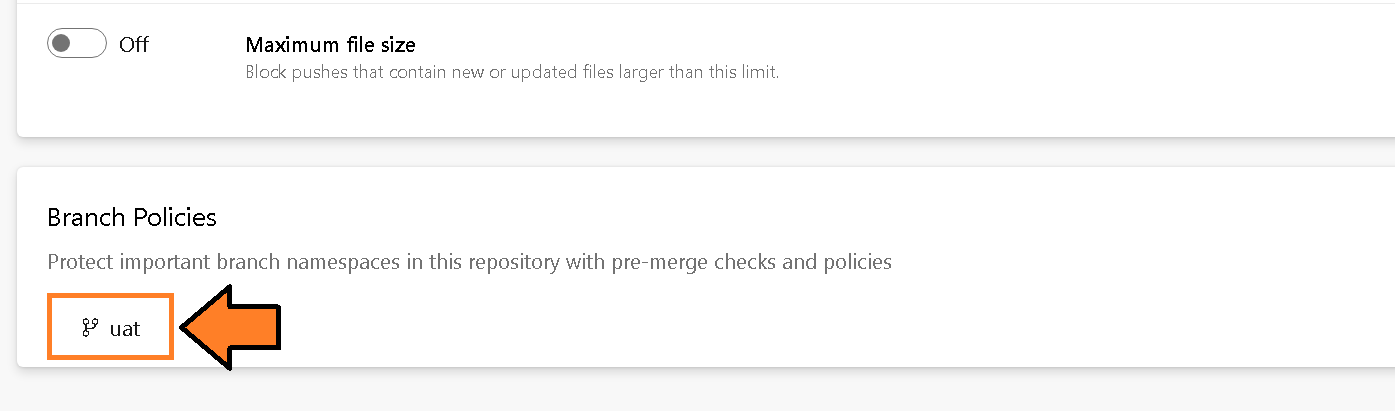 Figure 17 – Select “uat” branch
6) Select the plus button next to “Build Validation”.
 Figure 18 – Select add Build Validation
7) The “Add build policy” panel will appear. Select the Build Pipeline called “Check-Eventhouse-For-Errors” with the following settings:
- Path Filter - Do not fill out.
- Trigger - Automatic (whenever the source branch is updated).
- Policy requirement - Required.
- Build expiration - After 12 hours if uat has been updated
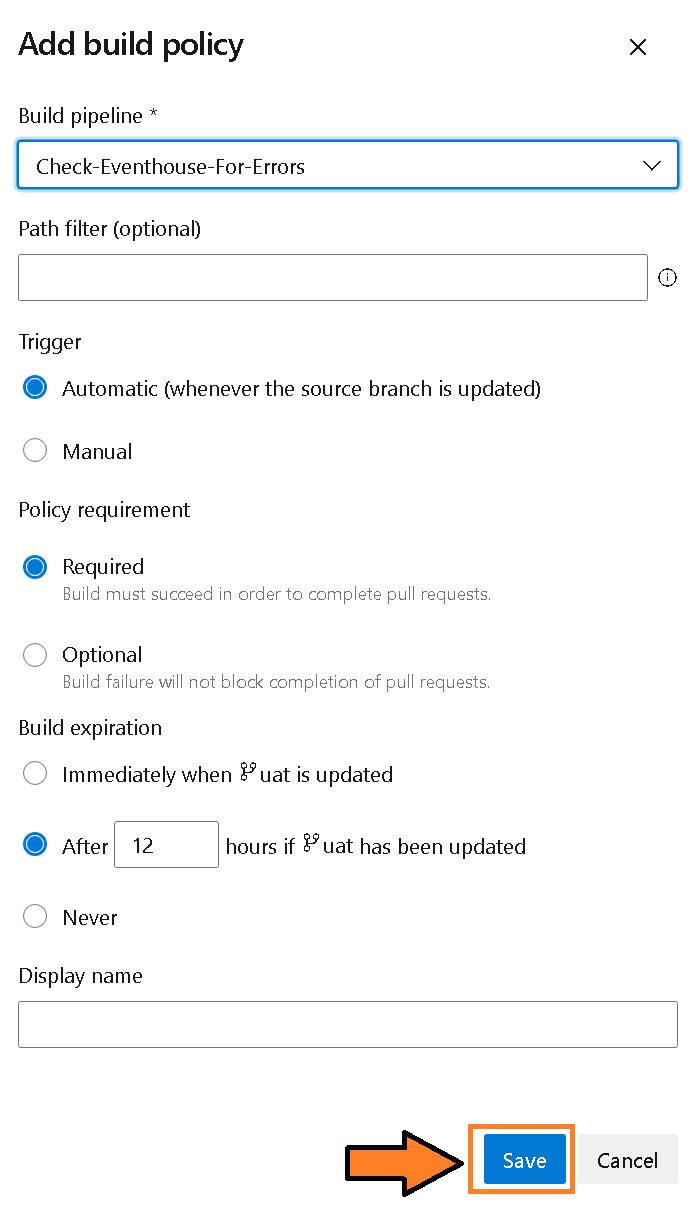 Figure 19 – Add Build Policy settings
Create Pull Request
We’re finally ready for the Pull Request part of the show:
1) Now make a minor change to the Semantic Model or Report in the dev branch, commit, and then sync your changes. Our goal is to have a difference between dev and uat branches. If you haven’t done this step already please see Part 2 of this series.
2) Now click on Pull Request option in the Repos section.
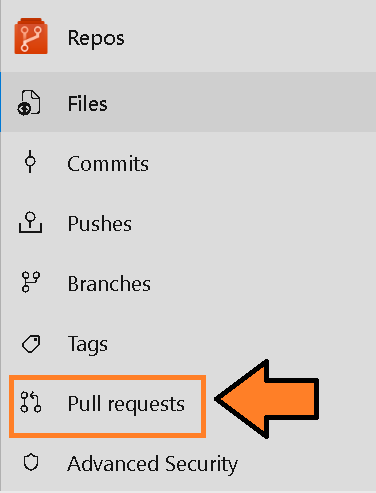 Figure 20: Navigate to Pull Request
3) Click on New Pull Request button.
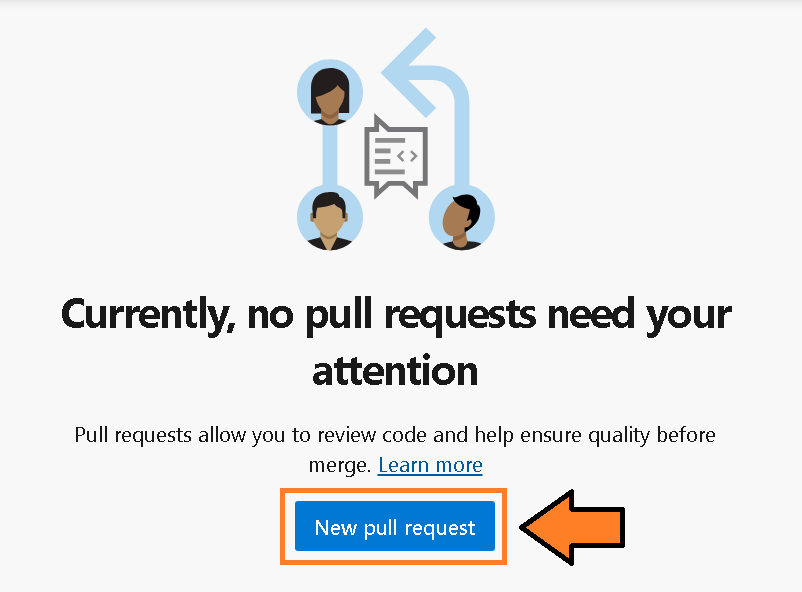 Figure 21: Navigate to Pull Request
4) A form will appear for initiating a Pull Request. You will need to make sure you set the dropdown options to say “dev into uat” as you want to update the uat branch with your recent changes in the dev branch. Provide an appropriate title and description, and then hit create.
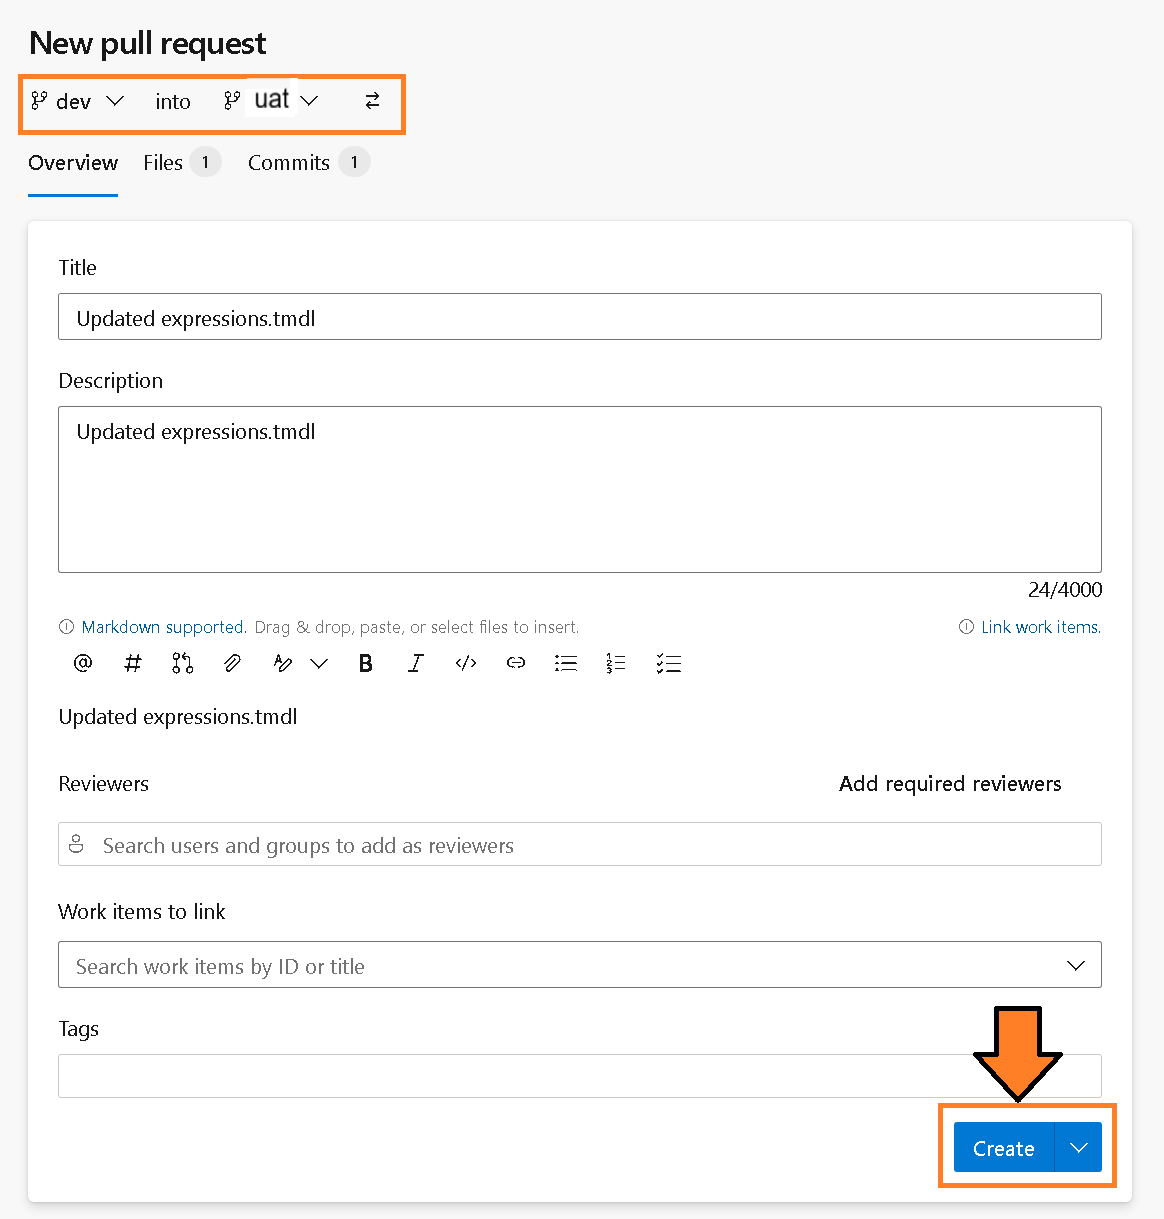 Figure 22: Create Pull Request
5) You’ve now created a Pull Request successfully.
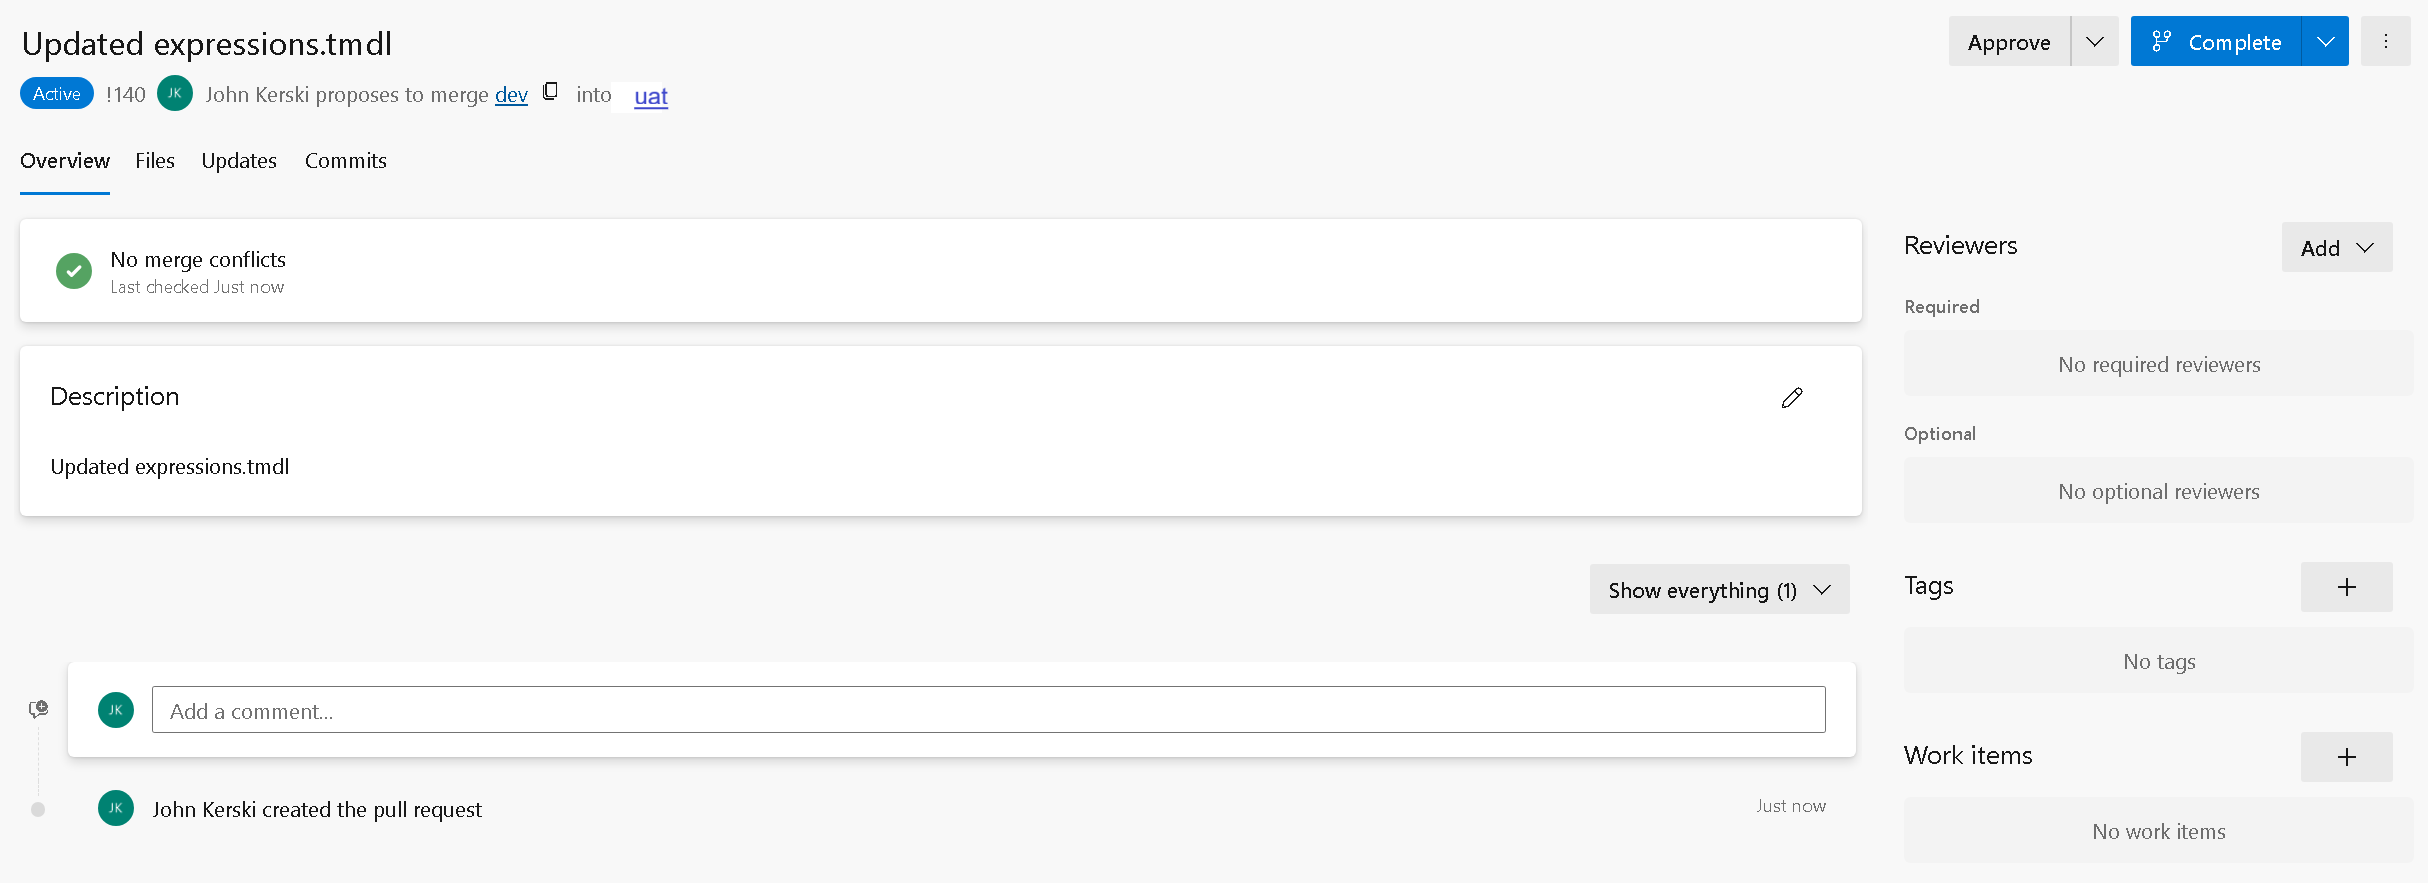 Figure 23: Pull Request Created
6) If you want to learn more about the Pull Request interface for Azure DevOps you can visit this link. But, in the image below I identified 3 areas:
1. This Files tab will show you all the differences between the branches (e.g., the differences between dev and uat).

2. This is the overview area where you will see comments and any issues about the Pull Request.

3. This is where reviewers will approve or reject Pull Requests.
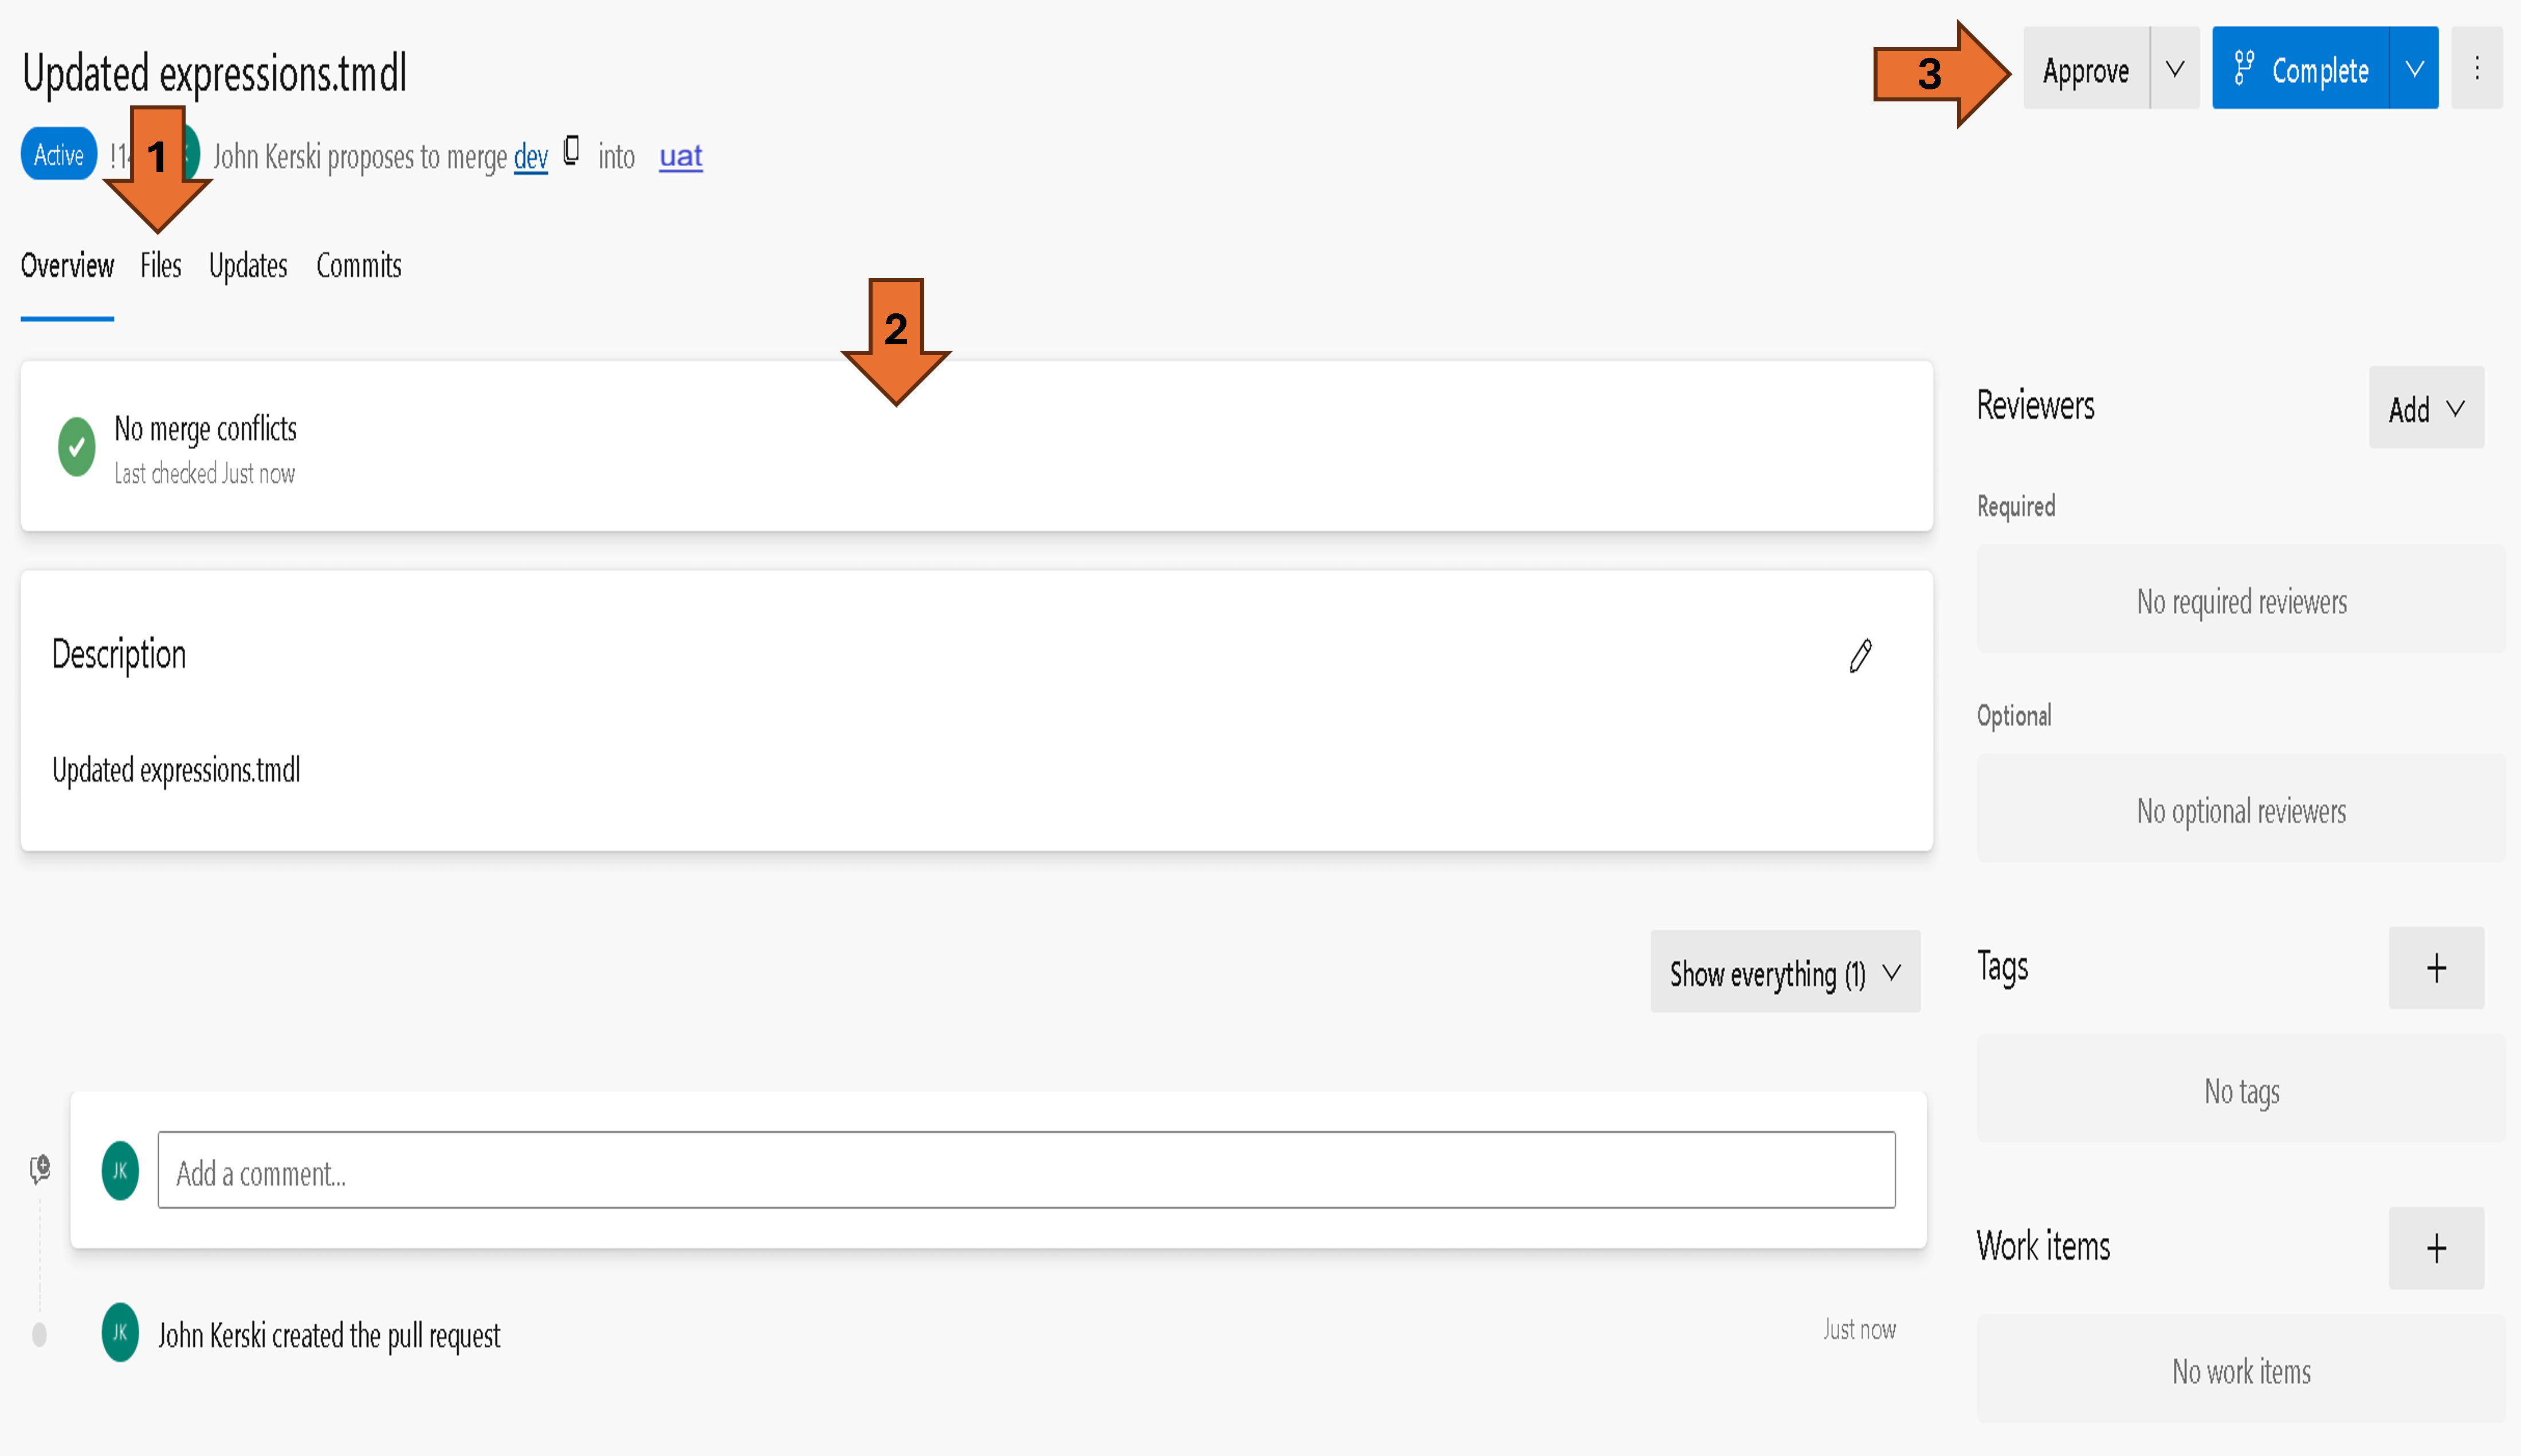 Figure 24: Pull Request Window
7) You will also notice something else start to kick off: Check-Eventhouse-For-Errors
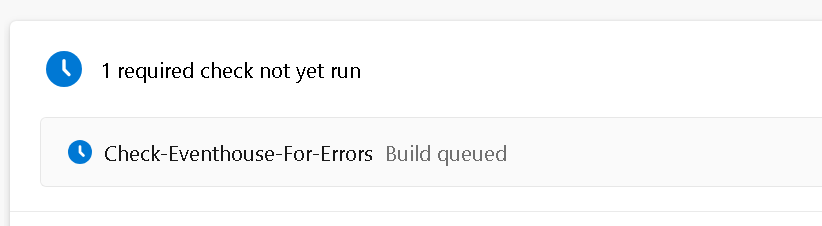 Figure 25: Build Validation Run
8) Check-Eventhouse-For-Errors will then issue a KQL query that looks like this:
              | join kind=inner (
                  Commits
                  | where BranchName == 'dev'
                    and RepositoryId == '61fb66b0-81ca-43a4-8627-aaef69824465'
                ) on $left.CommitsId == $right.Id
                | where SeverityId == 3
                | join kind=inner (
                    Tests
                ) on $left.TestsId == $right.Id
                | extend RunDateTime = todatetime(Date) + totimespan(strcat('0.', Time))
                | summarize arg_max(RunDateTime, *) by ArtifactName, Type, Source, TestsId
                | project ArtifactName, Type, Source, TestName = Name, TestDescription = Description, Details, Passed, RunDateTime
                | where Passed == 0
                | order by ArtifactName, Type, Source
This KQL query checks the current repository’s source branch from the Pull Request (in this case the ‘dev’ branch) and checks for any items with level 3 issues (errors) in the latest commits.
9) In the example below, I have deliberately introduced some issues which cause the build validation to fail.
 Figure 26: Build Validation Run Fail
And if I drill down into the pipeline by clicking on the errors, I can see what exactly failed. In this case, my semantic models have an issue with Best Practice Analyzer and a few issues from PBIR Inspector.
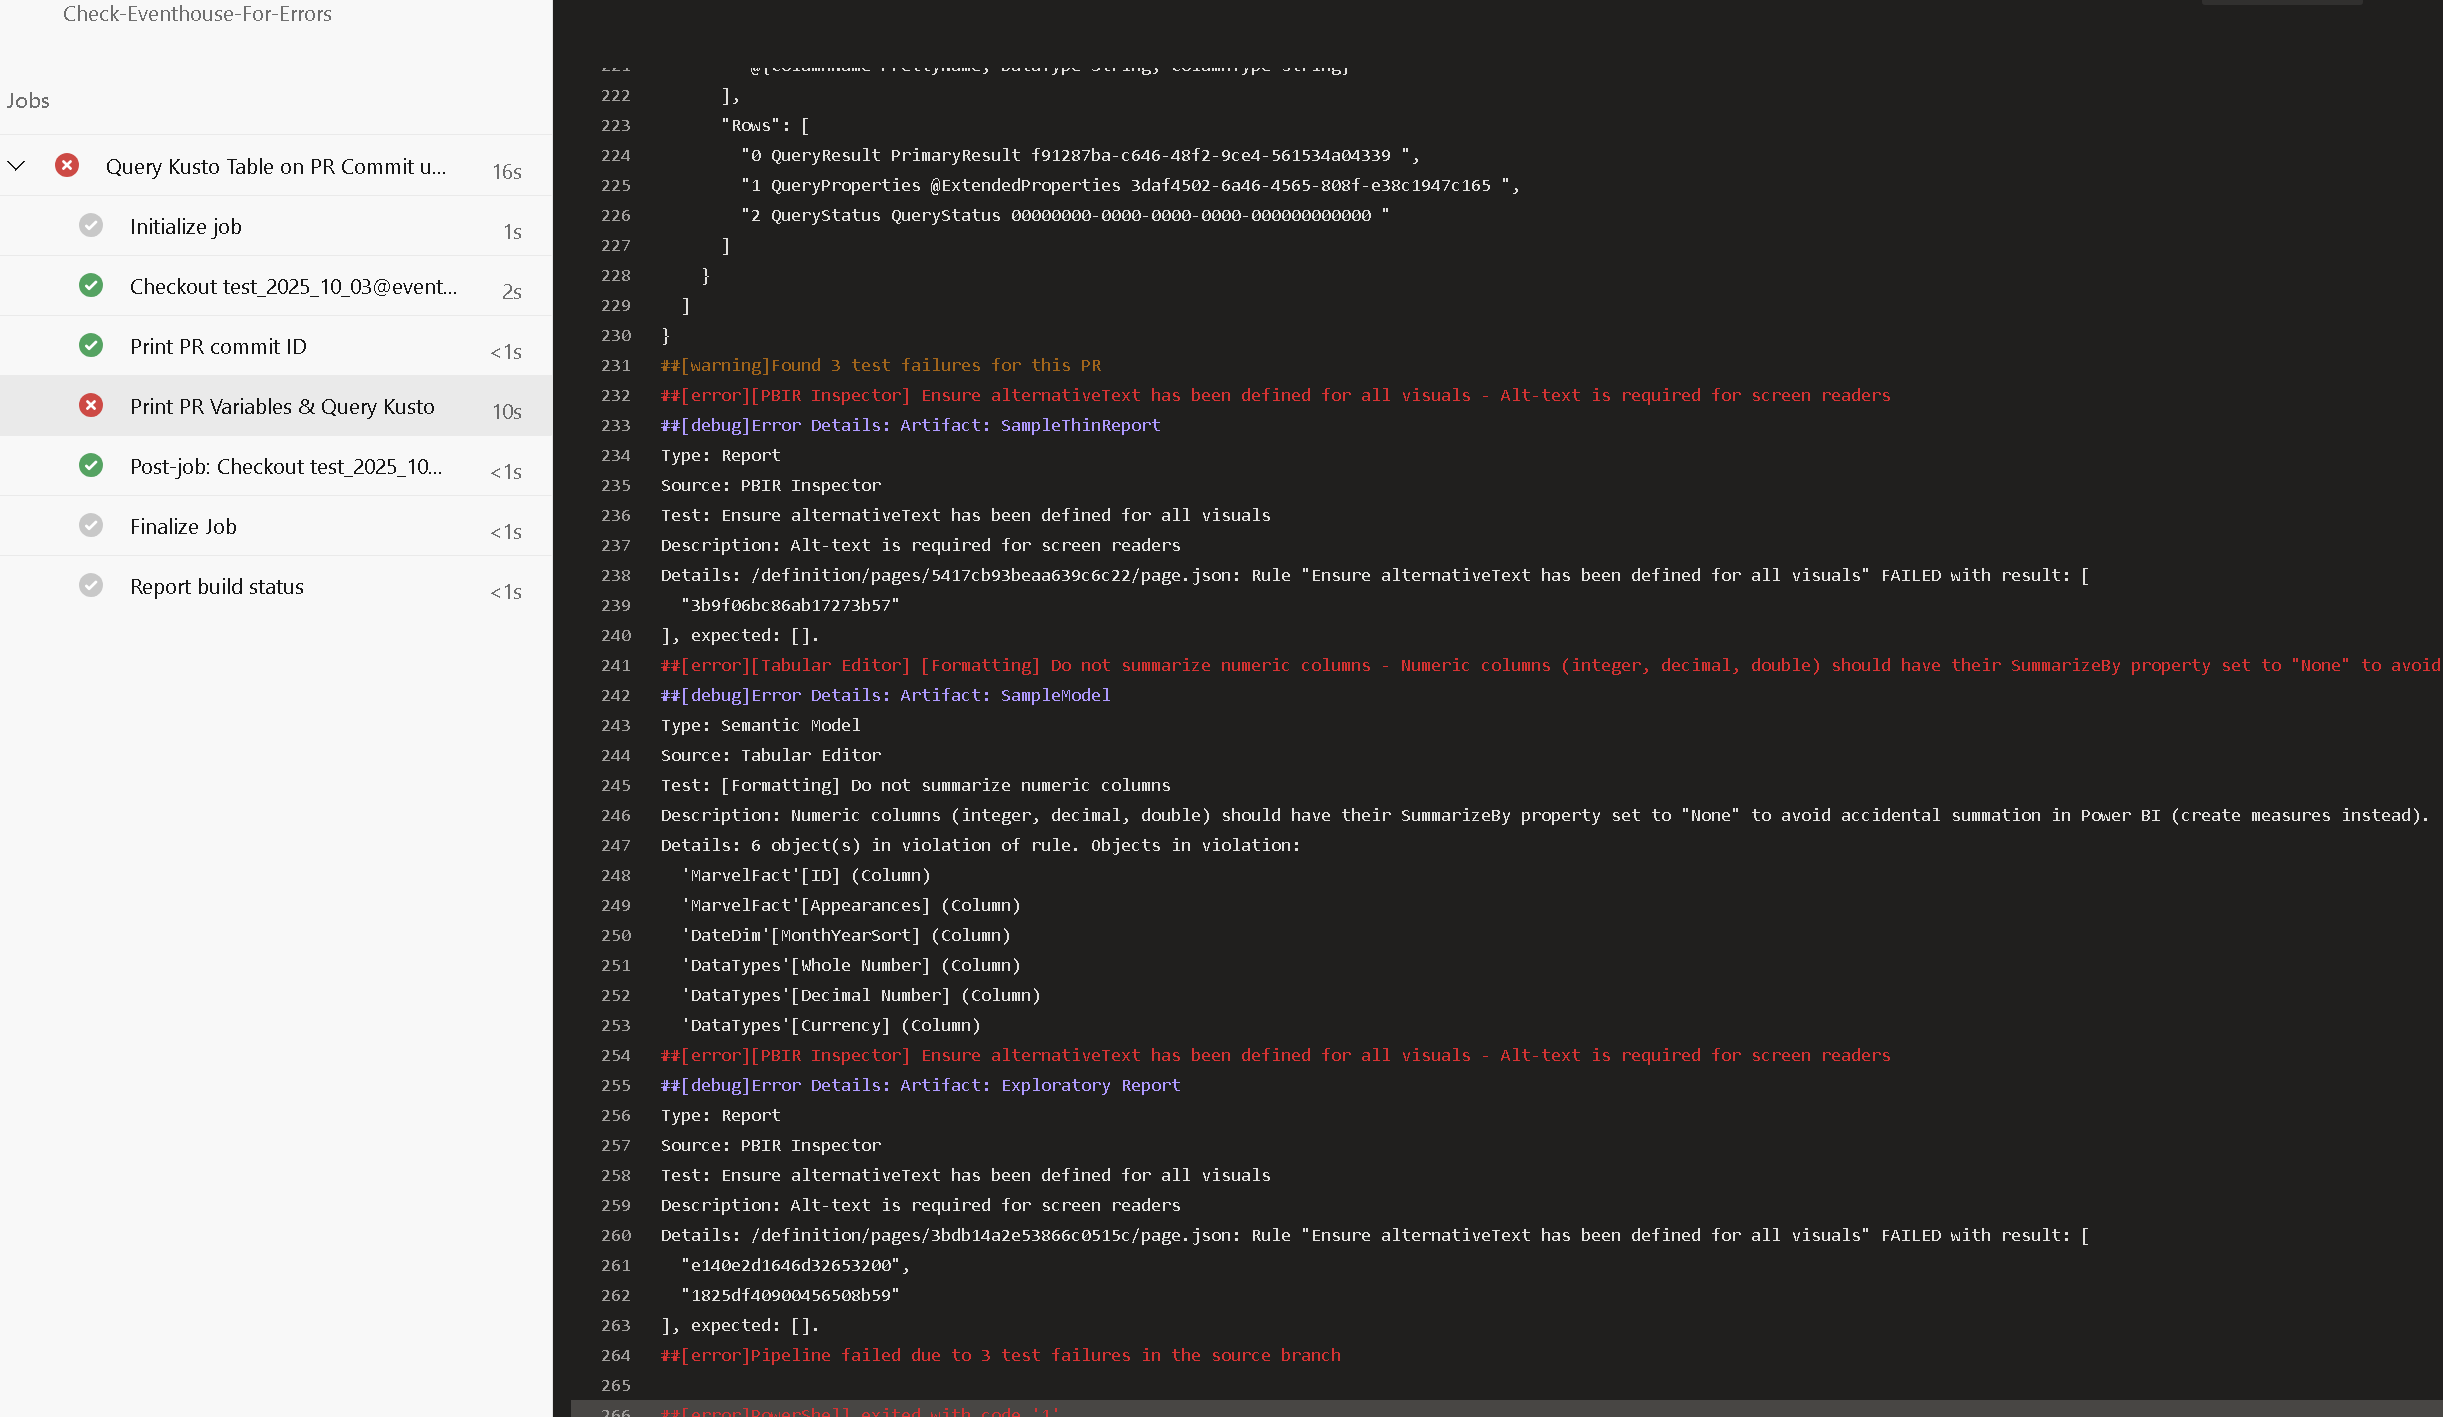 Figure 27: Example of Failed Issues
If I make changes to the dev branch to fix the issues then the build validation will automatically run and allow you to approve and merge the changes to uat.
Note: Now this branch policy is applied to the uat branch, but you could also apply the same policy to the main branch or other branches.
With branch policies and real-time data, you can now get insights into issues and standardize development practices without having to go to separate tools to run tests or even open Power BI to review changes. If you’ve ever had a Power BI project go from one model and a report to several models and lots of reports, you know being consistent is hard. By laying down a framework, like this approach, for version control, testing, Pull Requests, and promoting changes your team can scale to meet the demands of your clients.
The next article will show how we analyze our testing to answer some critical questions.
As always, let me know your thoughts on LinkedIn or Twitter/X.